|
Two nights ago I shot the first round of images for my latest composite photo, part of a series I'm working on. I won't be finished it too soon due to a lot of things I have going on, but I will definitely be finished it by the end of the summer.
0 Comments
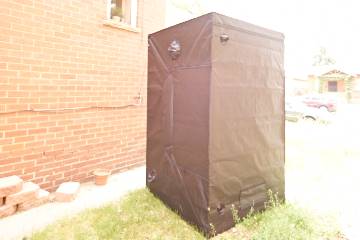
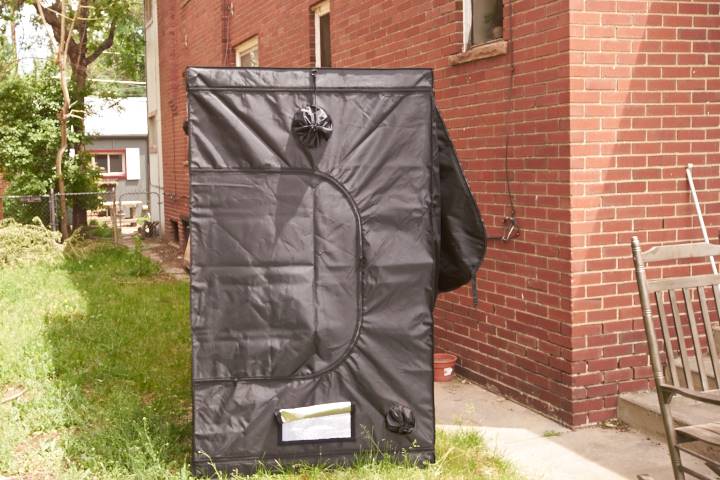
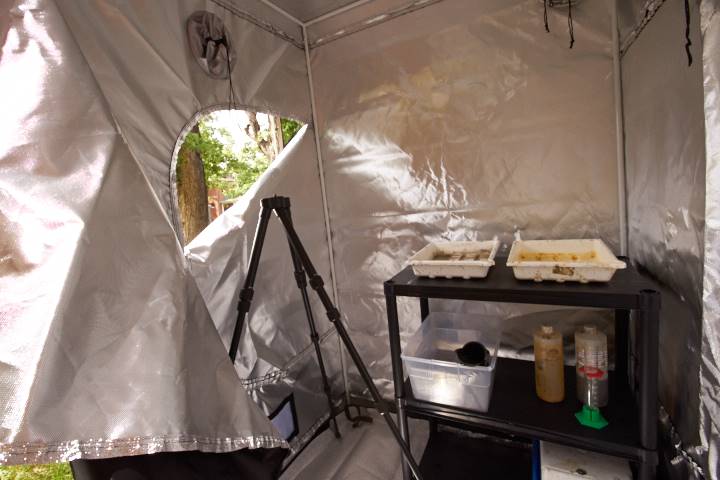
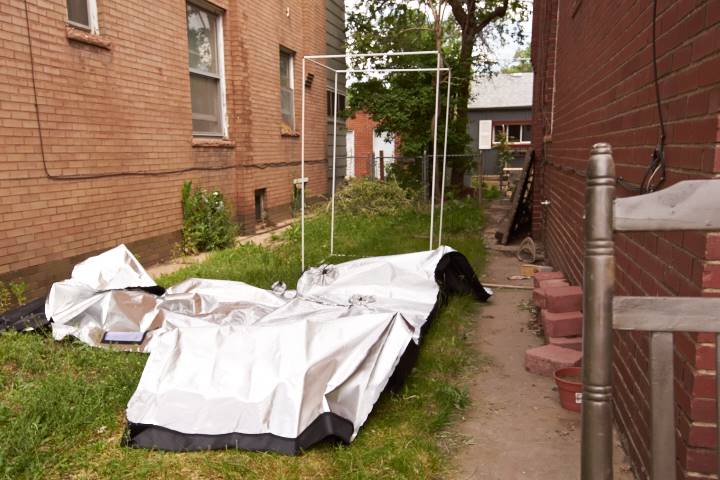
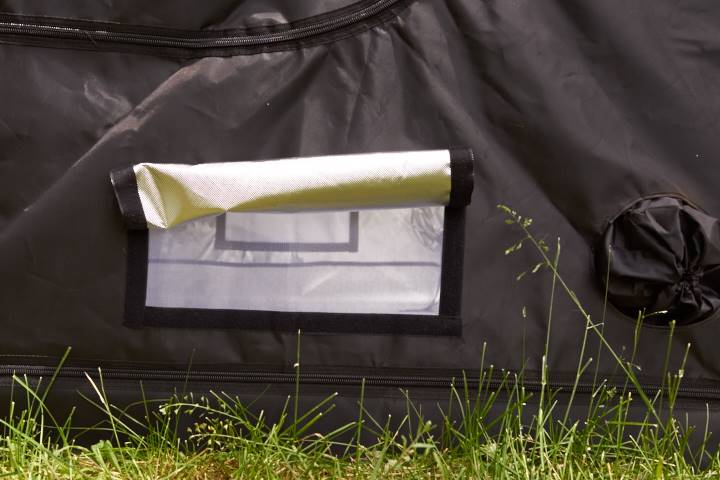
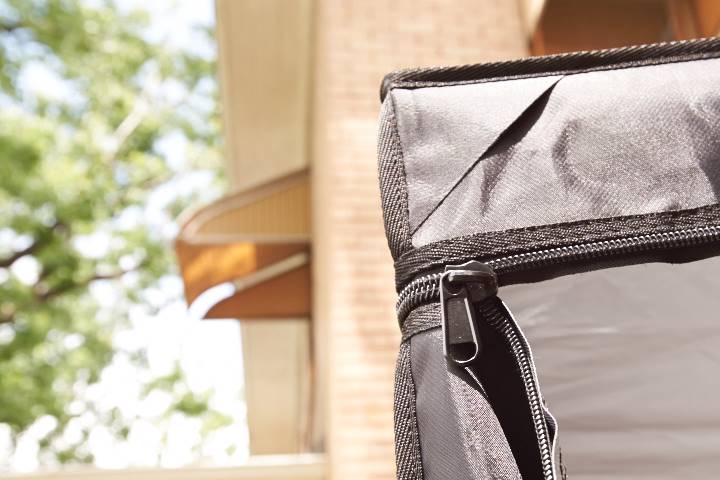
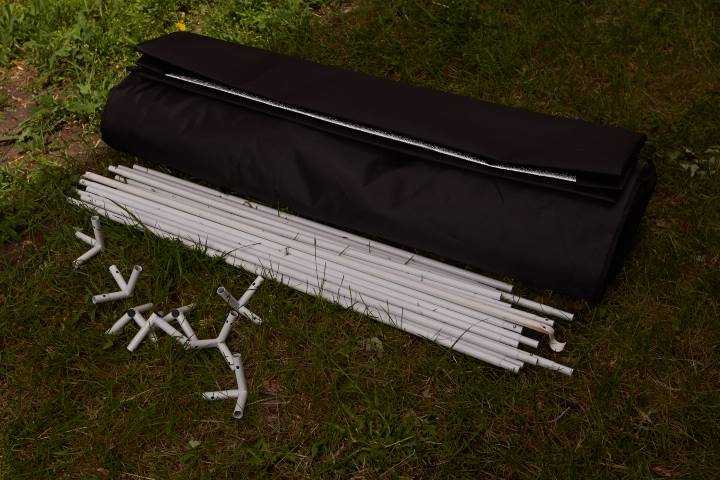
I found a lightproof (mostly) darkroom tent that I'm using as version 2 of my camera/darkroom combo for shooting wet plate photography. The tent is actually a grow tent for plants, so it has a reflective interior to maximize light inside. It will also help my red darkroom light be brighter inside the tent when it's on. It's also much easier to carry and much more compact, 4' x 4' x 6' instead of 10' x 10' x 8' like may last tent was. It's also about 35lbs where my last one was much, much more and impossible to fit in my small sedan. I actually got the idea for using this tent here: http://contrastique.files.wordpress.com/2011/04/tent.jpg where there is also a picture of his tent on a bicycle trailer, ready to move. The extra bars for hanging grow lights can also be used to hang a red lightbulb, but I've also seem people online just cover their windows/ vents with red acrylic or gels to allow the natural light to illuminate the inside. I'll have to experiment. I found a small shelf from Home Depot for $26, it's a 4-tier plastic shelf (only three tiers used below) and it holds two trays for developing 8x10 plates well. It's Home Depot's (I think) HDX brand. I've decided to just use a tripod for ease of transport rather than the more cumbersome 2x4 plank setup in my version two plans at the bottom of this post. The small vent in the bottom are where I'm going to cover with some red plastic sheeting to make the light safe for working with the undeveloped silver in the collodion plates. Now I'm using a red bulb which I could hang from a hanging support (not pictured in any of these, I left it off when I set it up this time) but I'd rather eliminate the need to run a cord into the tent to plug the light in and the need for another power source besides my strobe batteries. Whether my strobes have enough power is still TBD... The best part! Okay not the best part, but it's SO nice not to have zippers and not have to crawl under the multiple layer of plastic to get in and out of the tent. The zipper is only on the outside, so you have to reach through, but the zippers seem pretty rugged and will hopefully not fail any time soon. Well that's the new tent, I'm pretty excited for a much easier to transport, quicker to setup, and much nicer looking tent to shoot tintypes from. Another option, more expensive but vital if high winds are an issue, is an ice fishing tent. I've seen one of these used, a small one with two rooms, one for the camera and one for the developing table. It's definitely nicer, but a little larger and at least 3x more expensive. Maybe I'll go that route in the future for some large plates shot outdoors, but for now this will work just fine, even for large plates. I purchased this tent for just over $100, and the quality of it is better than I expected. There wasn't even a brand name on the tent or paperwork (one sheet that was simple set up instructions, BTW setup of the poles is easy and they're numbered). I had seen brand names sewn onto other tents online but I think the same manufacturer makes them all and then people use their own brand patches. If you want one, just search "48x48x72 mylar darkroom tent" and you'll get a lot of results. If you have time to wait you'll be able to find them on sale. Pictures shot with the camera? If I build it this weekend, hopefully I can shoot some plates on Monday.
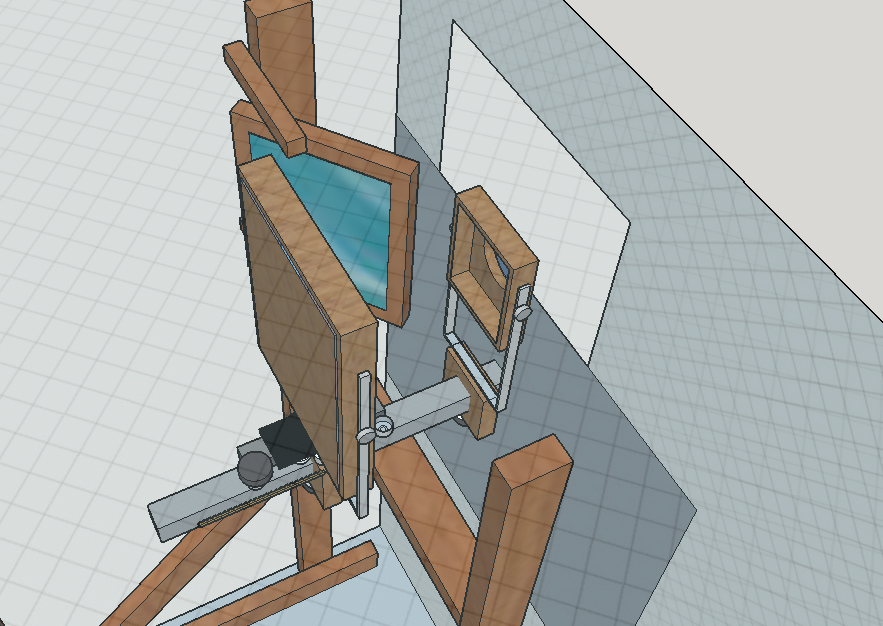
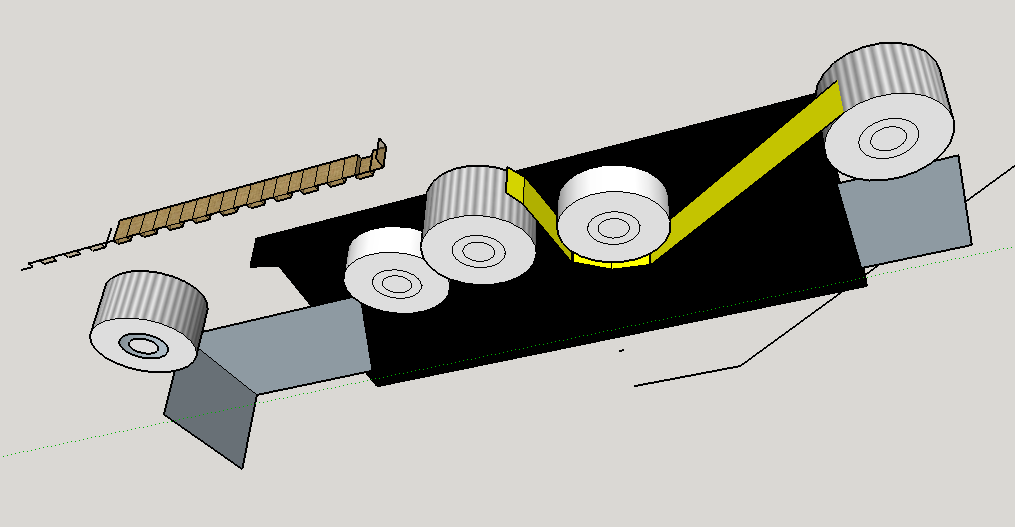
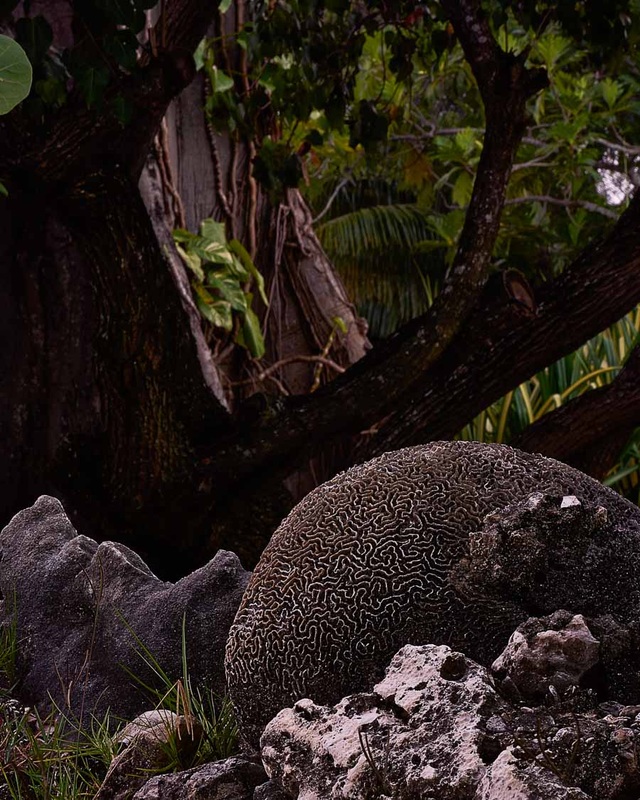
Actually I'm only modifying a darkroom, it's going to be a lightproof tent I've ordered that allows me to shoot tintype photos and develop them all in the same dark space. I'm doing a lot of research and consulting with some great engineering minds to find a way to make a cost-effective 8x10 format camera that will have fine focus adjustment knobs and be capable of also accepting larger size tintype "film" (sheets of metal or glass), like 11"x14" or *gasp* 16"x20". Here are a couple of my initial models, mostly for figuring out the focus adjustment from inexpensive parts that are also very precise and machined. And even though I'm trying to be very cost effective with this build, I also want it to look nice, so I may use some exotic wood. Even though it will be mostly enclosed in a black tent (except the lens, of course). Here are a couple tintypes I took several months ago during my first crack at wet plate photography. 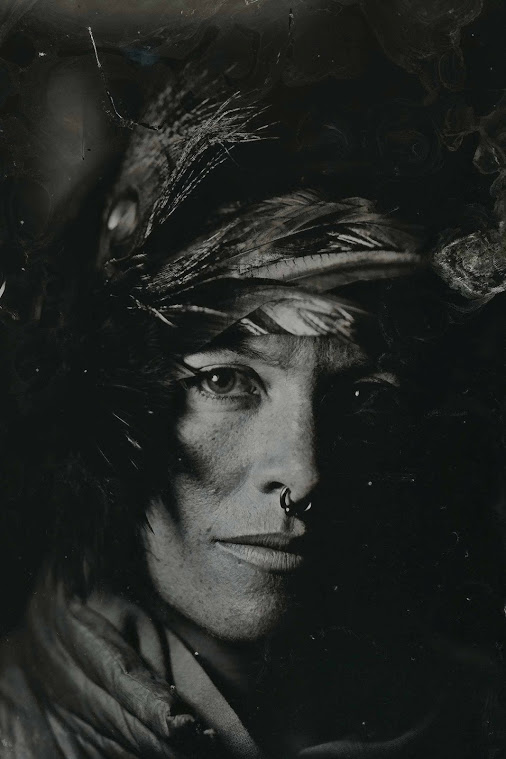 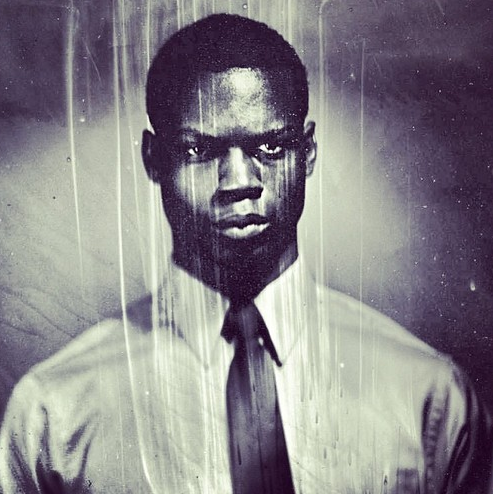 I'll post my plans once I've decided on the specifics for the camera/darkroom build, as well as some images of the original 10'x10' darkroom tent and camera.
I have a series of images I shot in various parts of Africa up on socialdocumentary.net's new print sales and licensing platform powered by Photoshelter. Click on the image below to view the series. I'll be shooting some more work concerning social documentary soon, hopefully from a few projects I'm lining up this summer. They're not overseas, but deal with some important issues closer to home. 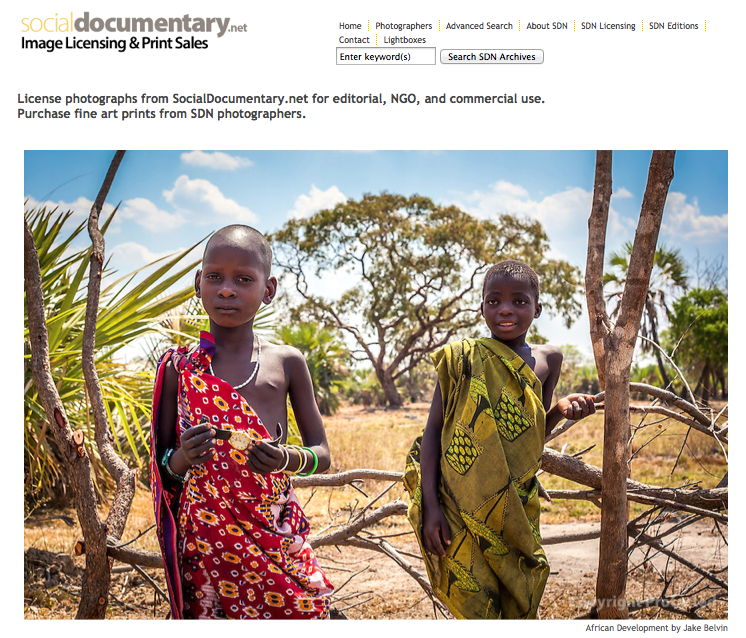
My images address development in modern Africa.
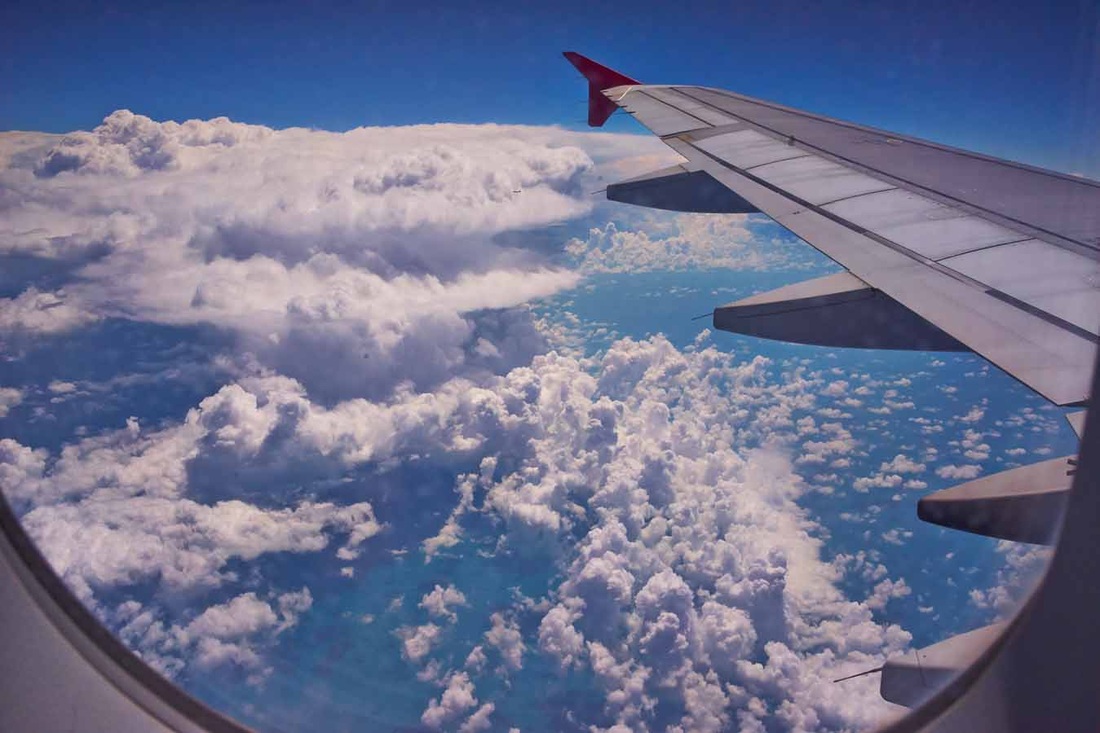
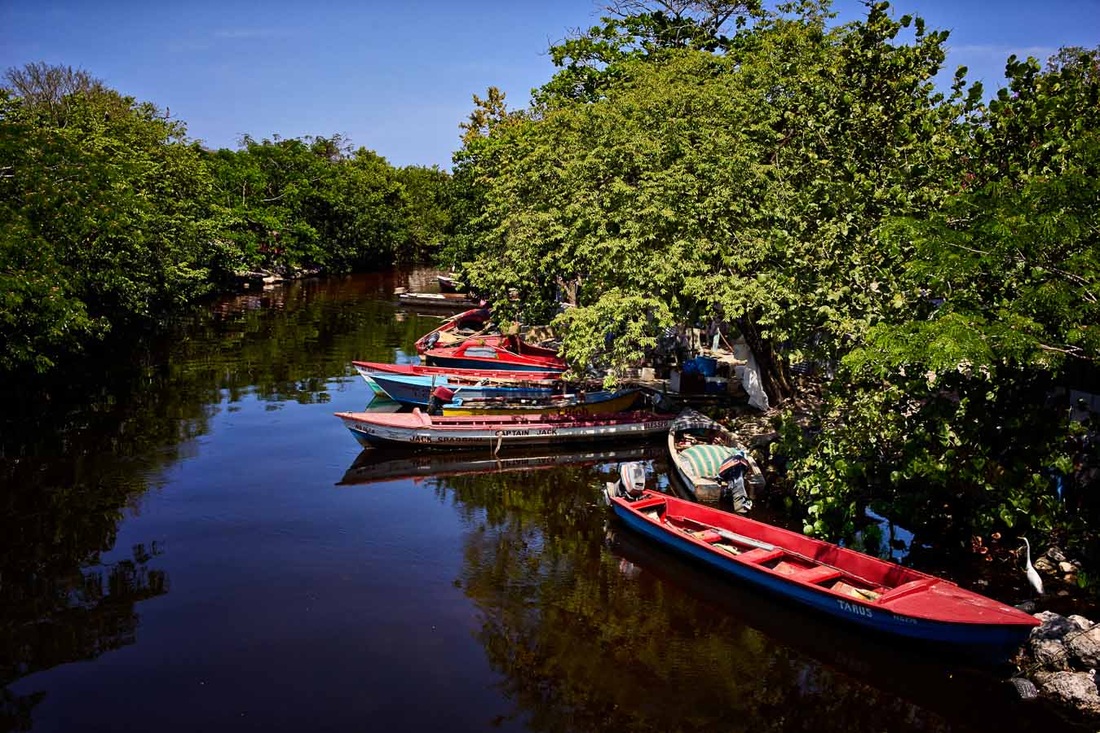
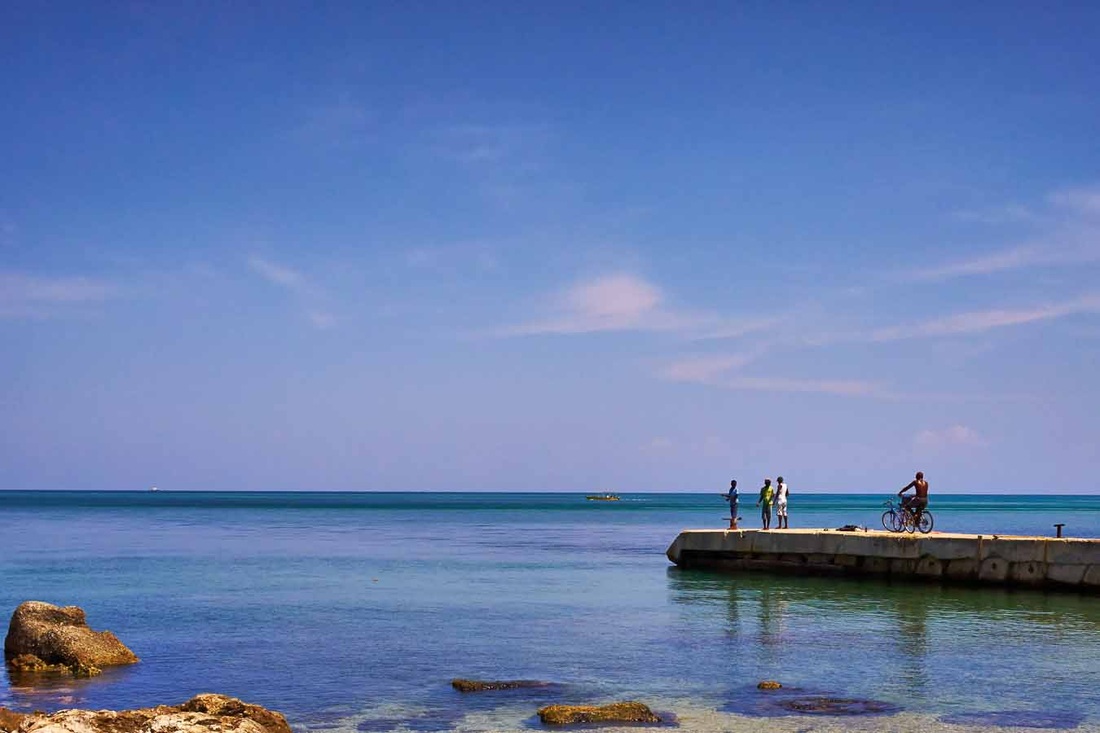
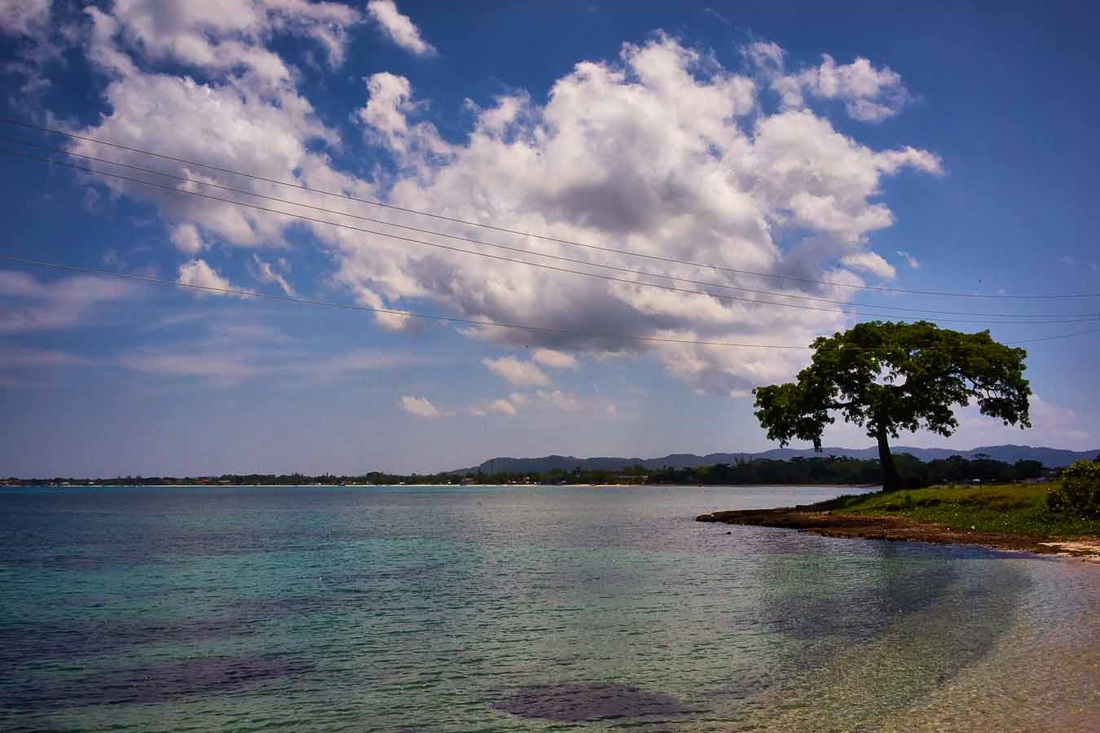
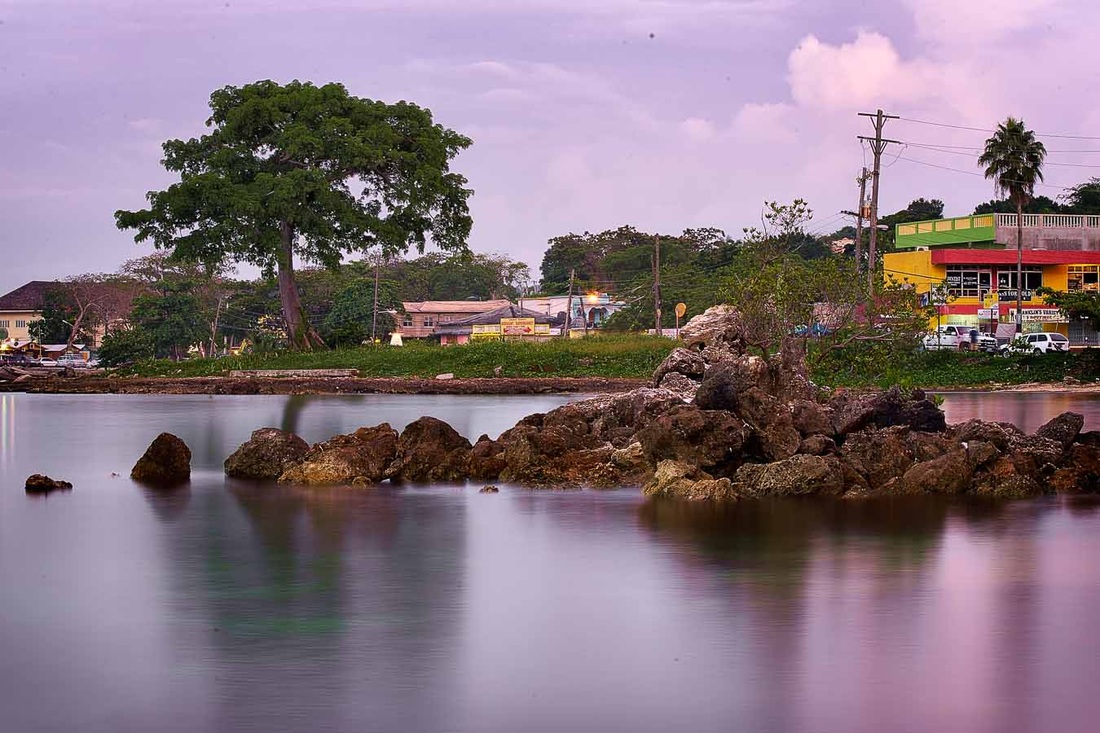
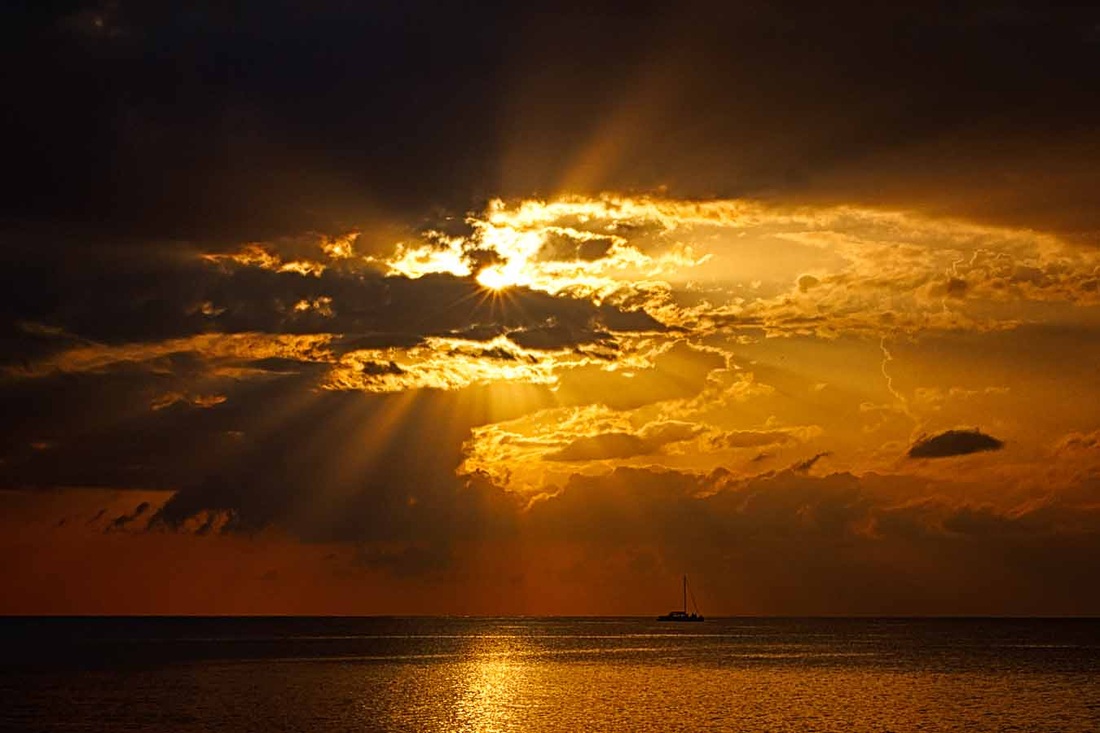
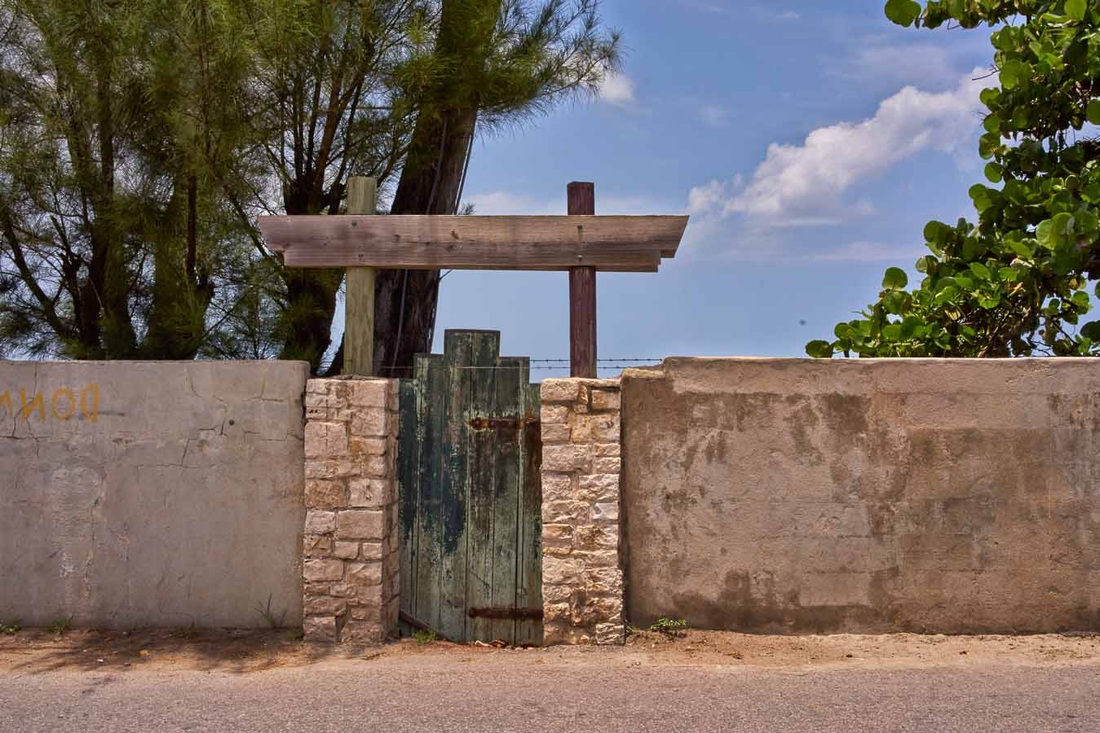
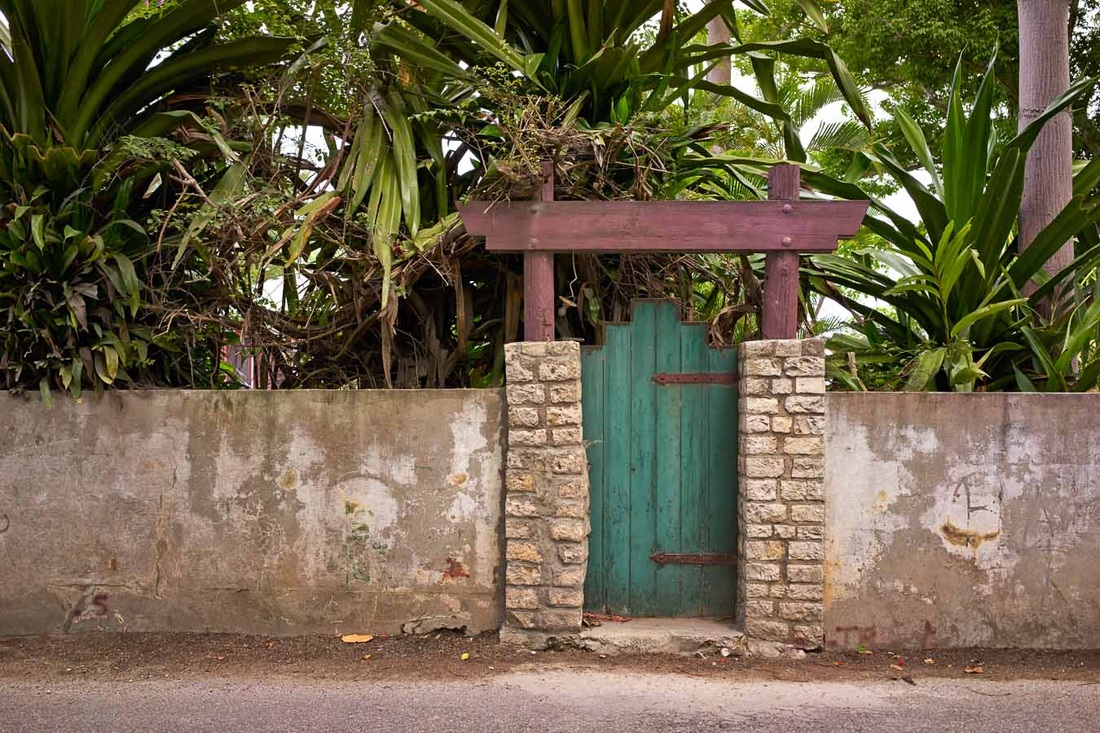
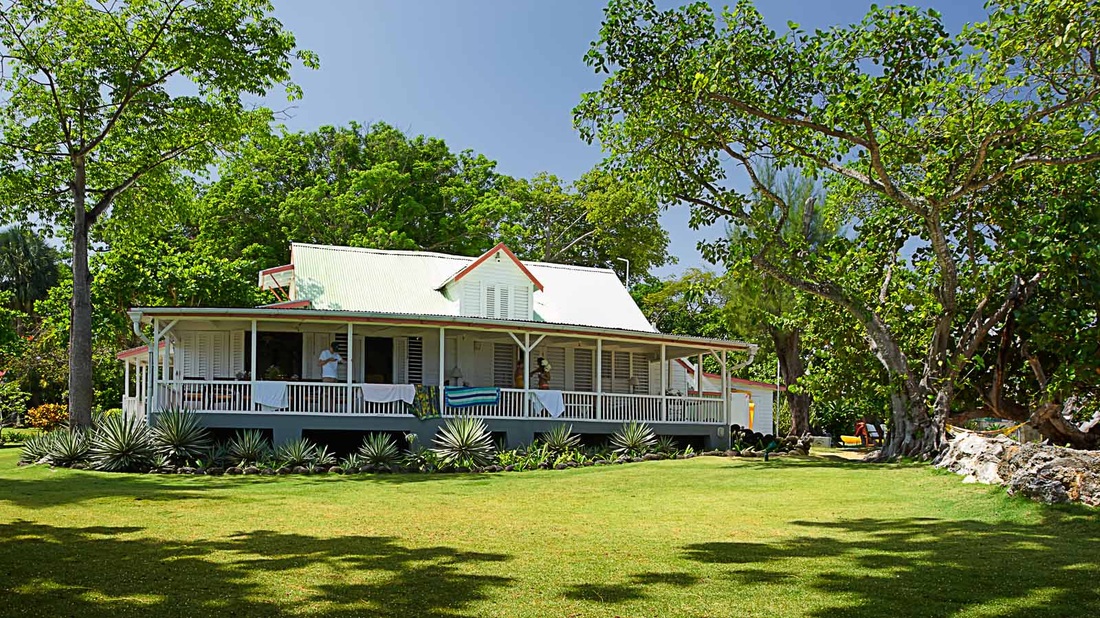
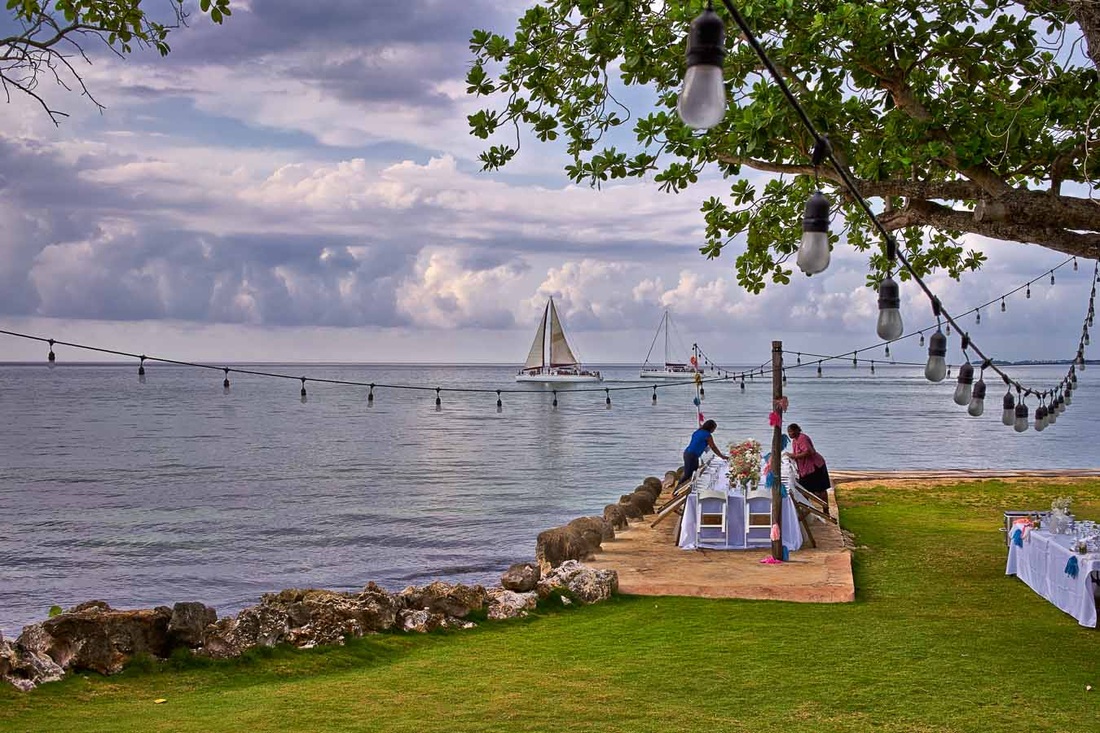
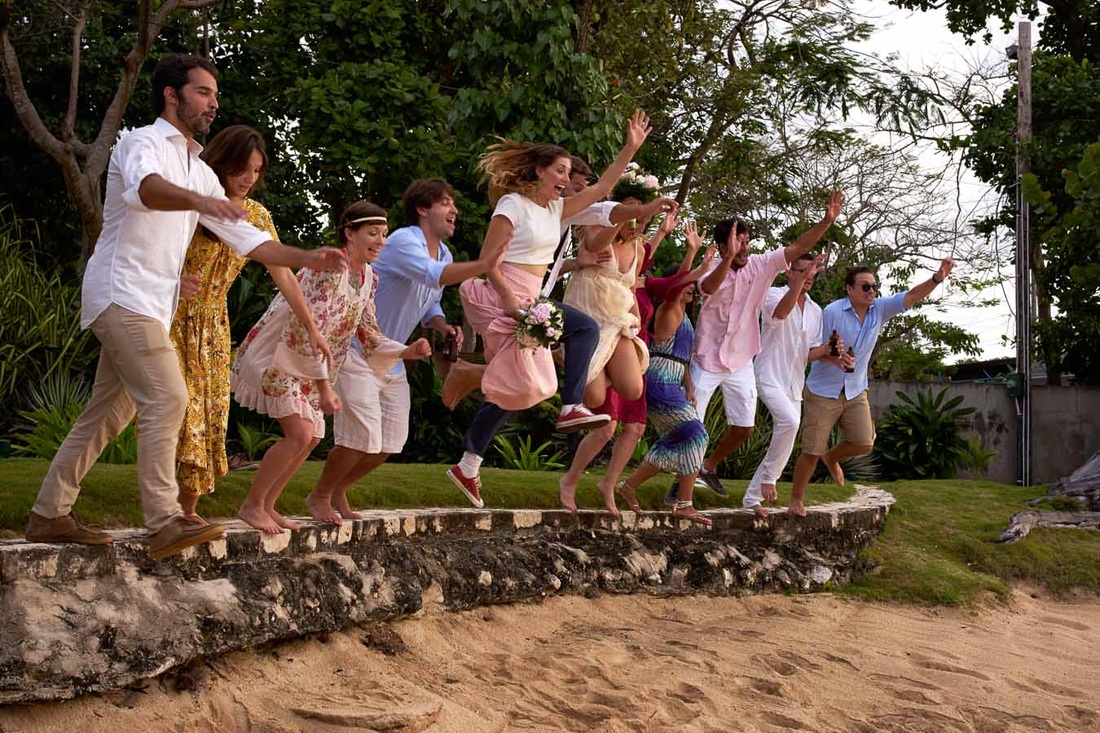
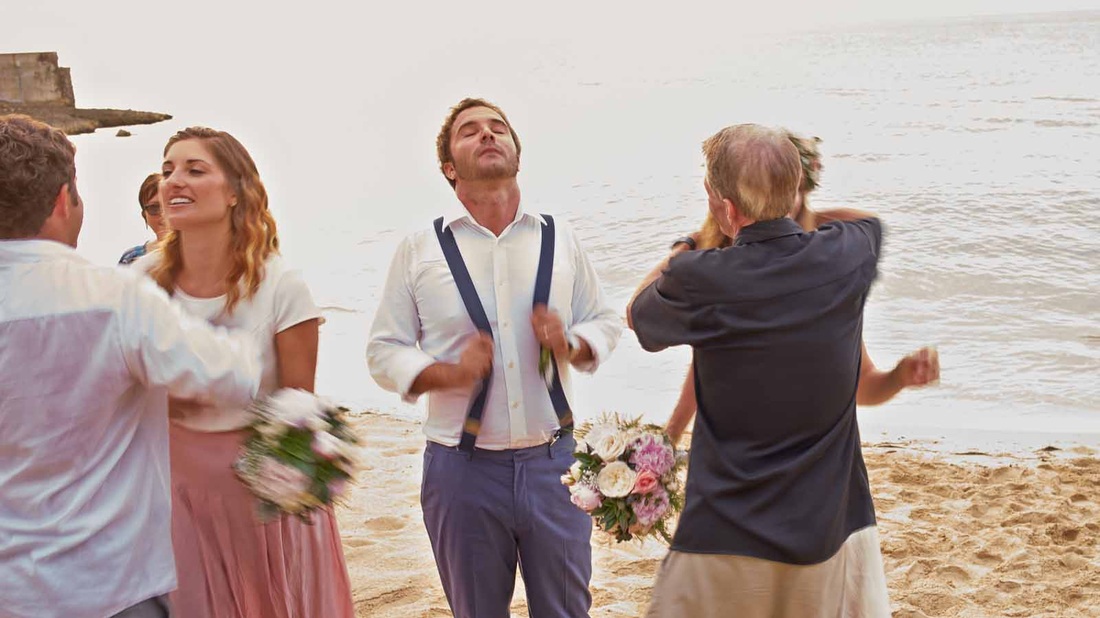
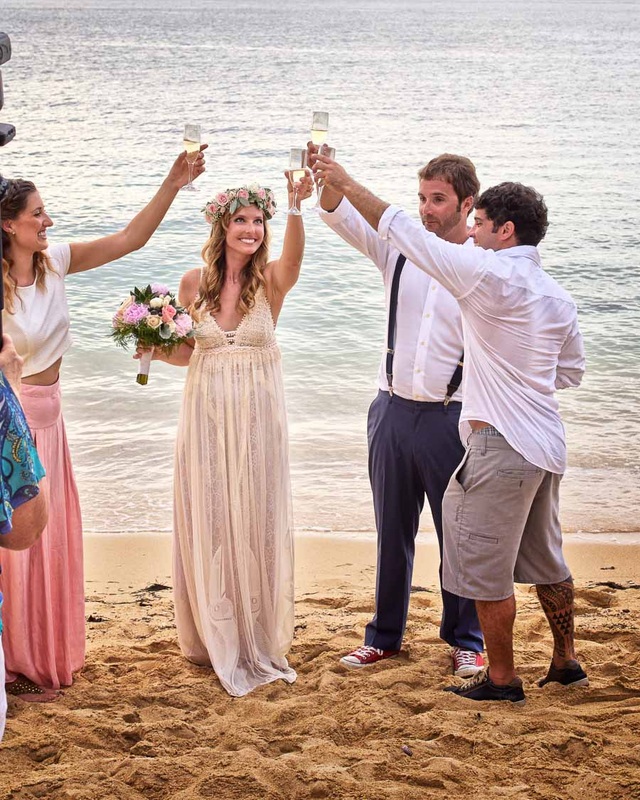
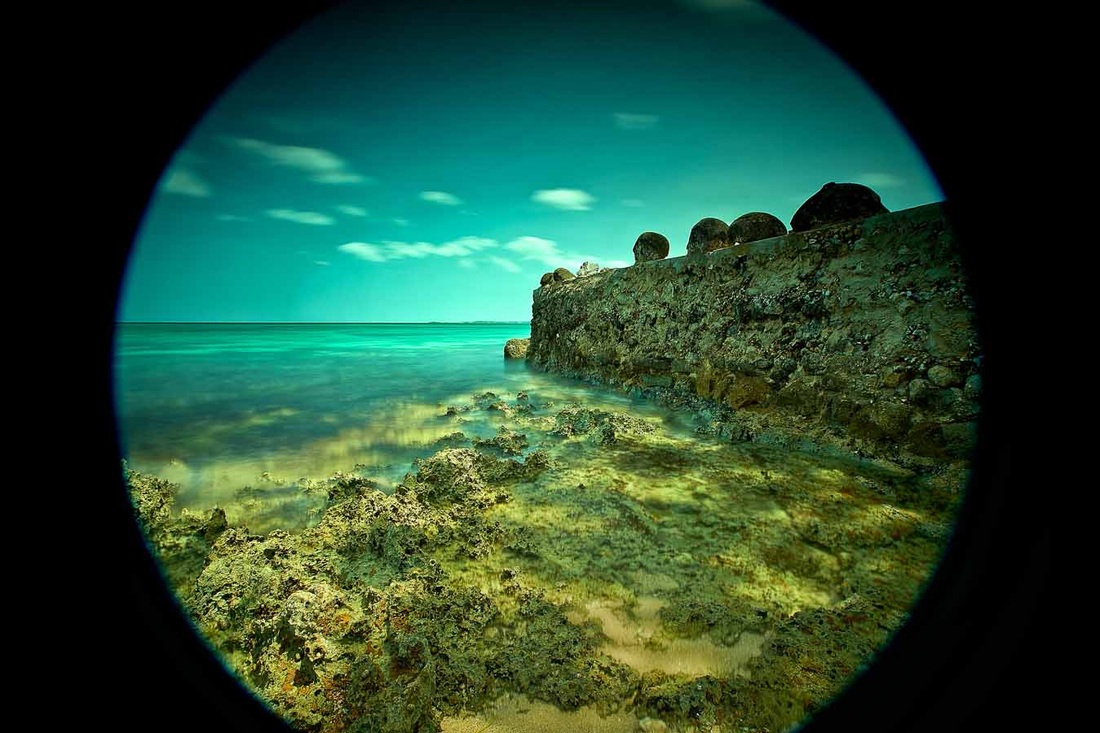
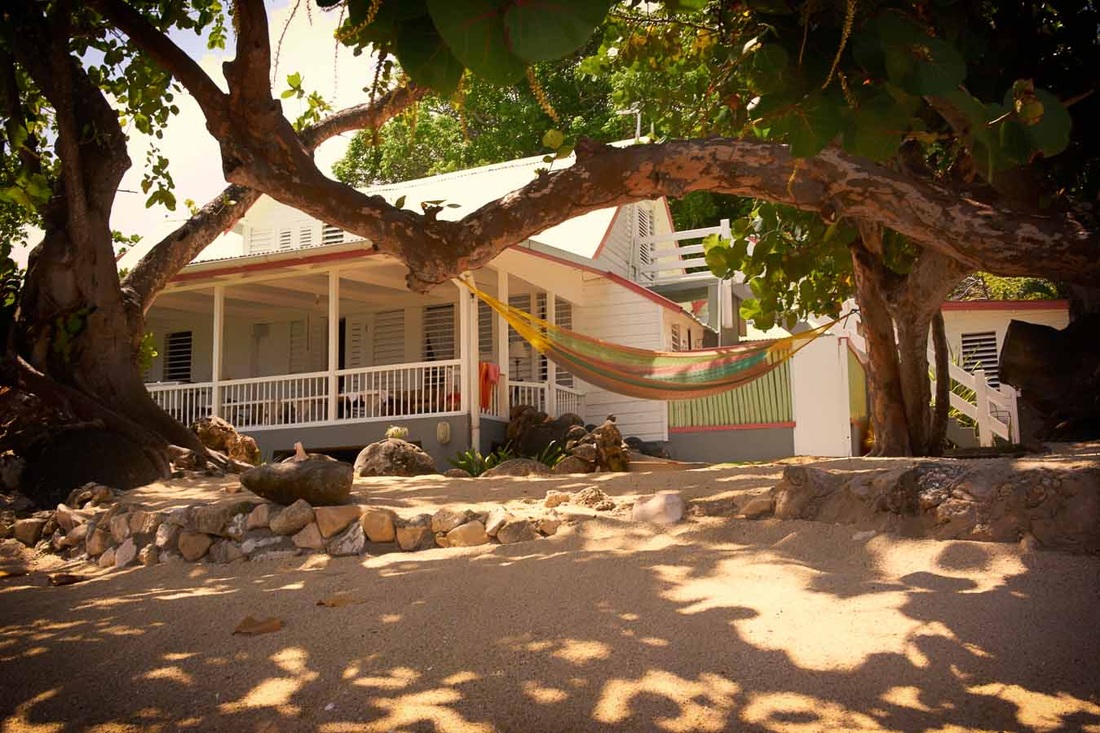
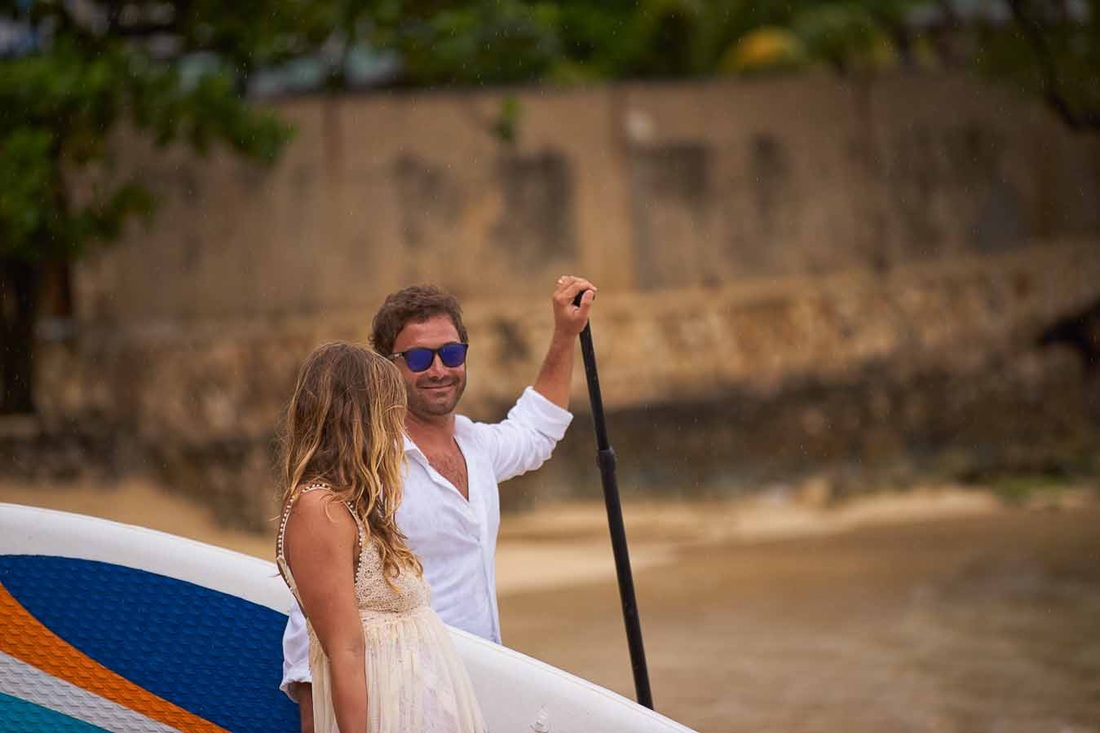
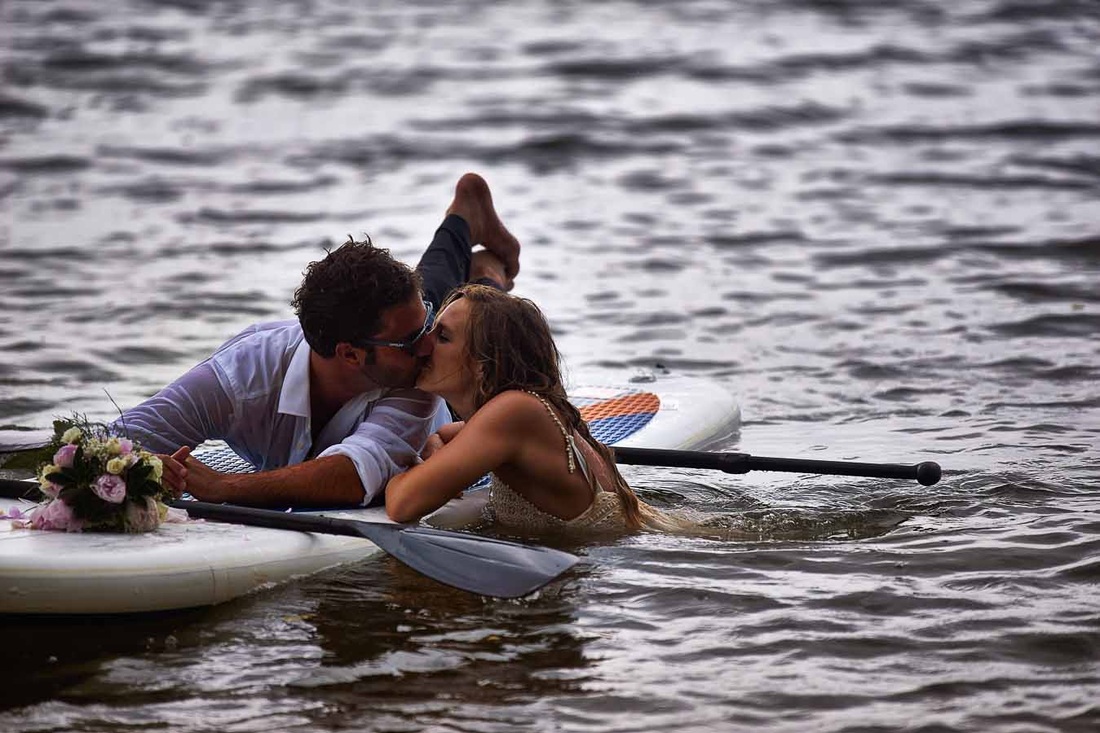
"Development in modern Africa often stems from within, with leadership in community projects often aided by NGO money but primarily managed by local staff. From the coffee culture ingrained in Ethiopian life, a rapidly expanding clean water and sanitation project in Tanzania, and assistance offered to the poorest townships in South Africa, local African communities are making great strides to improve their quality of life and that of the community that surrounds them". At the beginning of the month I had the chance to go down to Jamaica for a wedding, I've been a lot of places, but this was my first visit to Jamaica and it was a great trip for making new friends and a great introduction to the laid back and friendly culture there. Here are a few photos from the weekend.
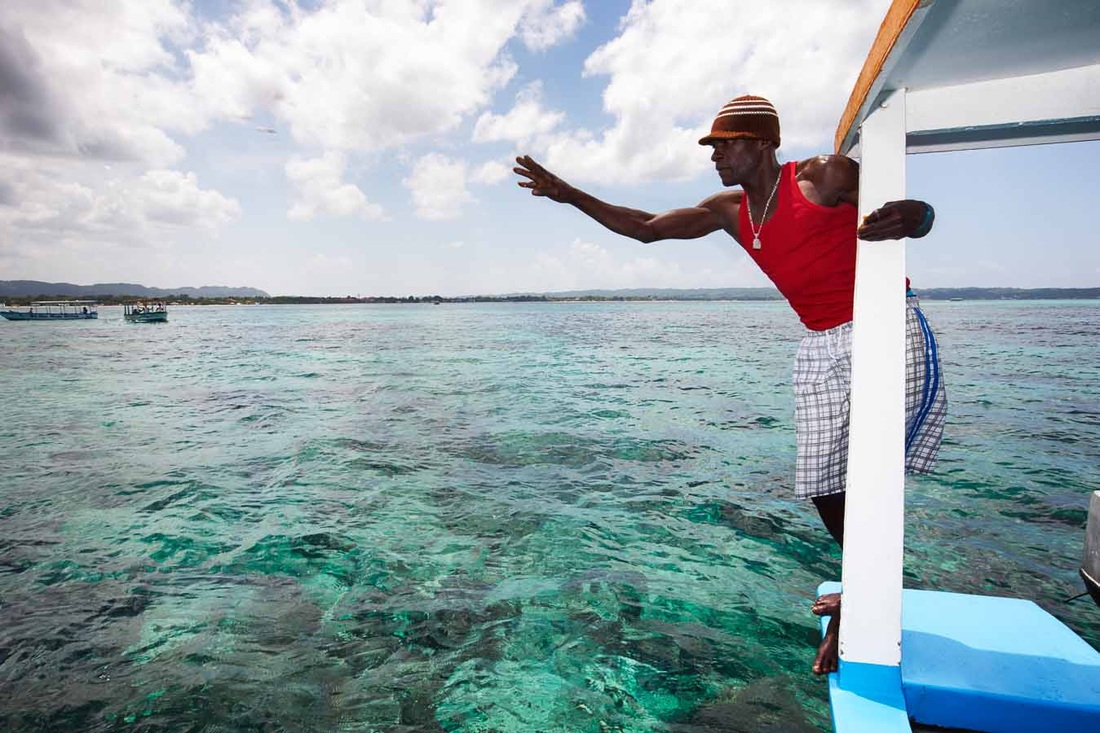
Rain on the wedding dinner table, the day after. 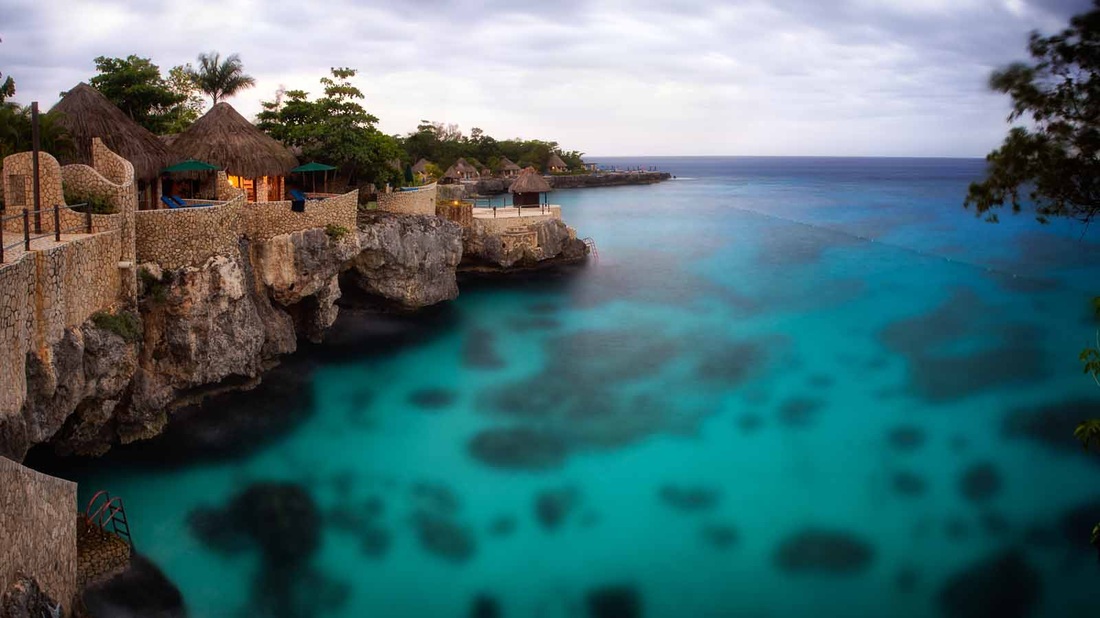 Rock House Resort 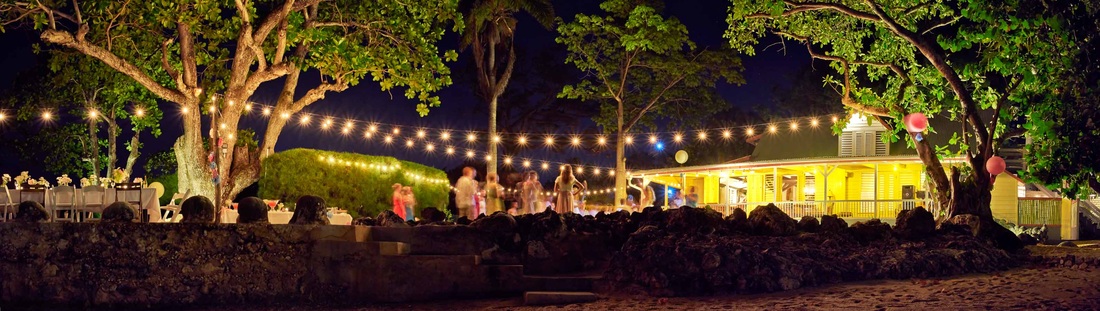 The Wedding Party winding down, late at night.
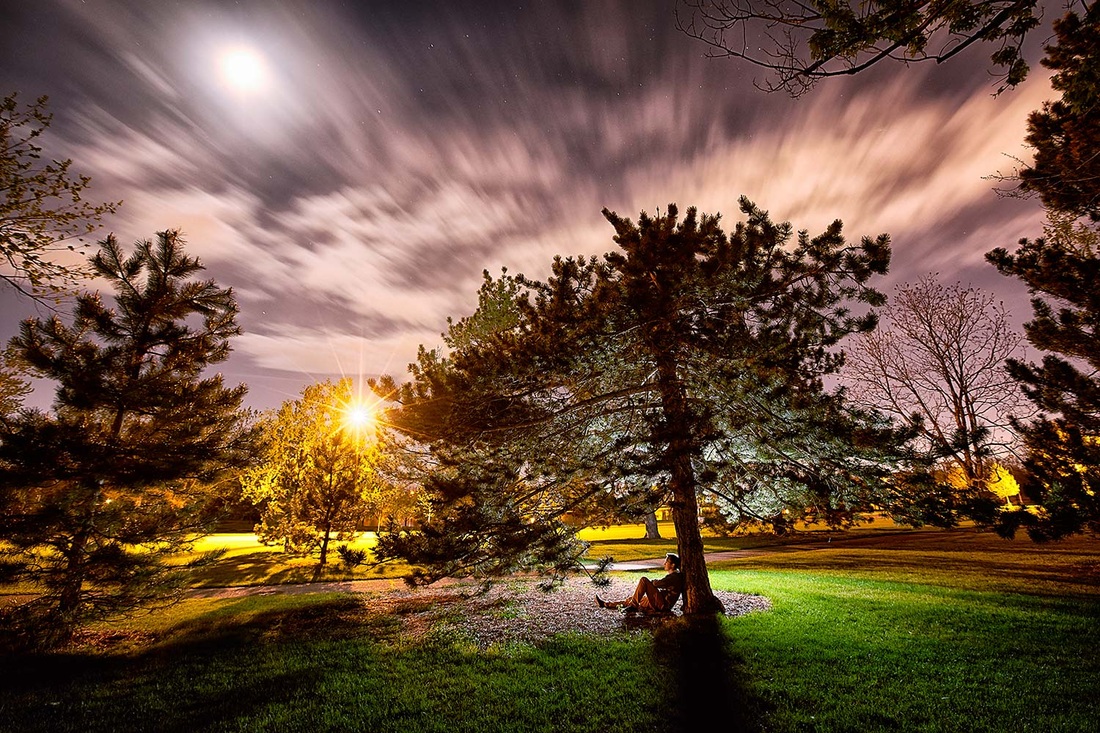
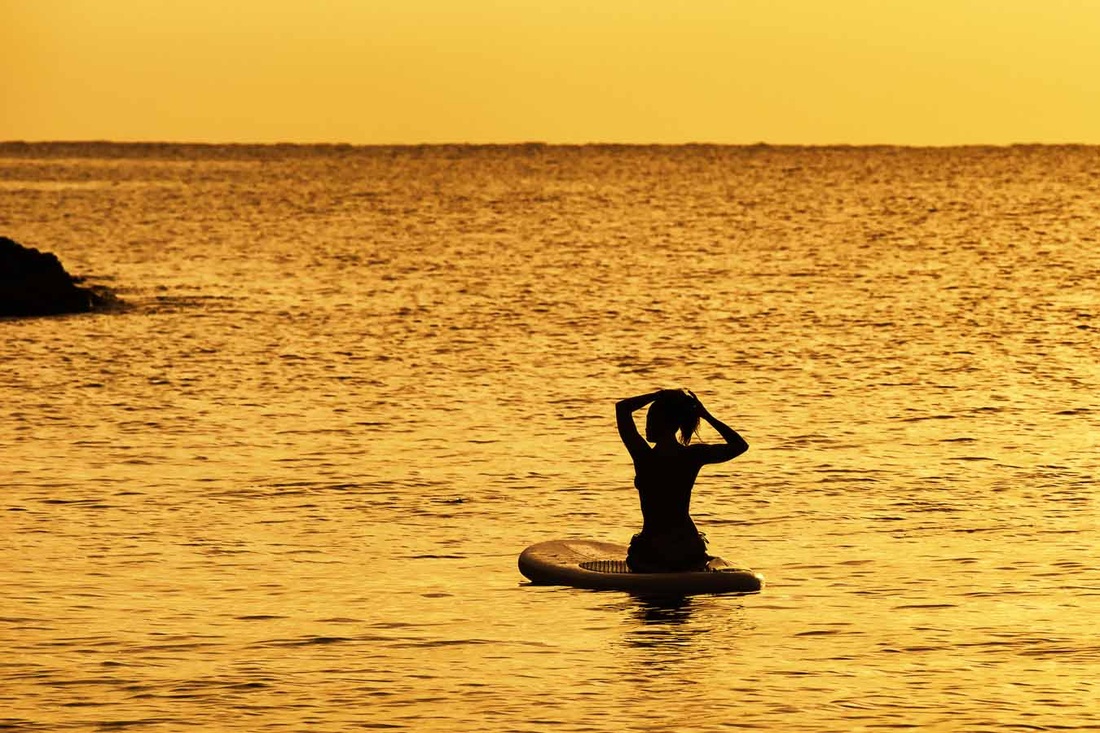
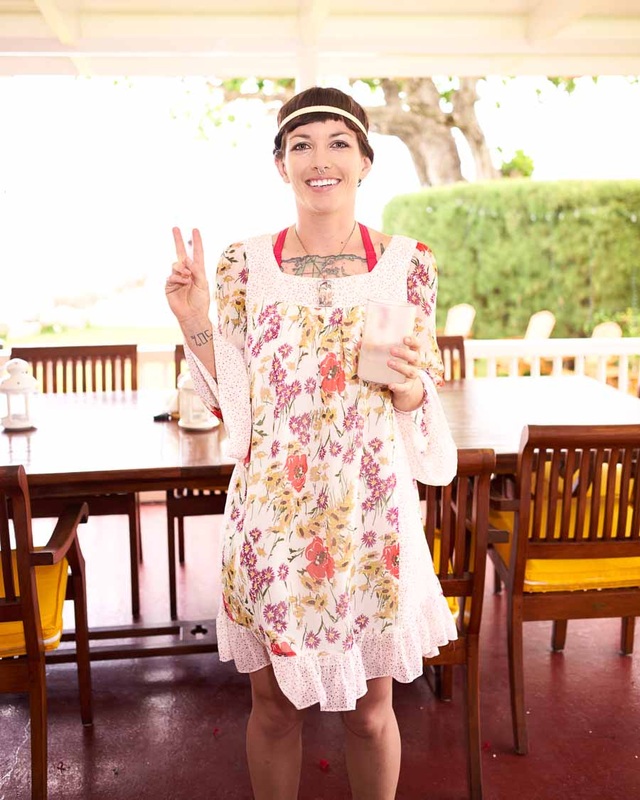
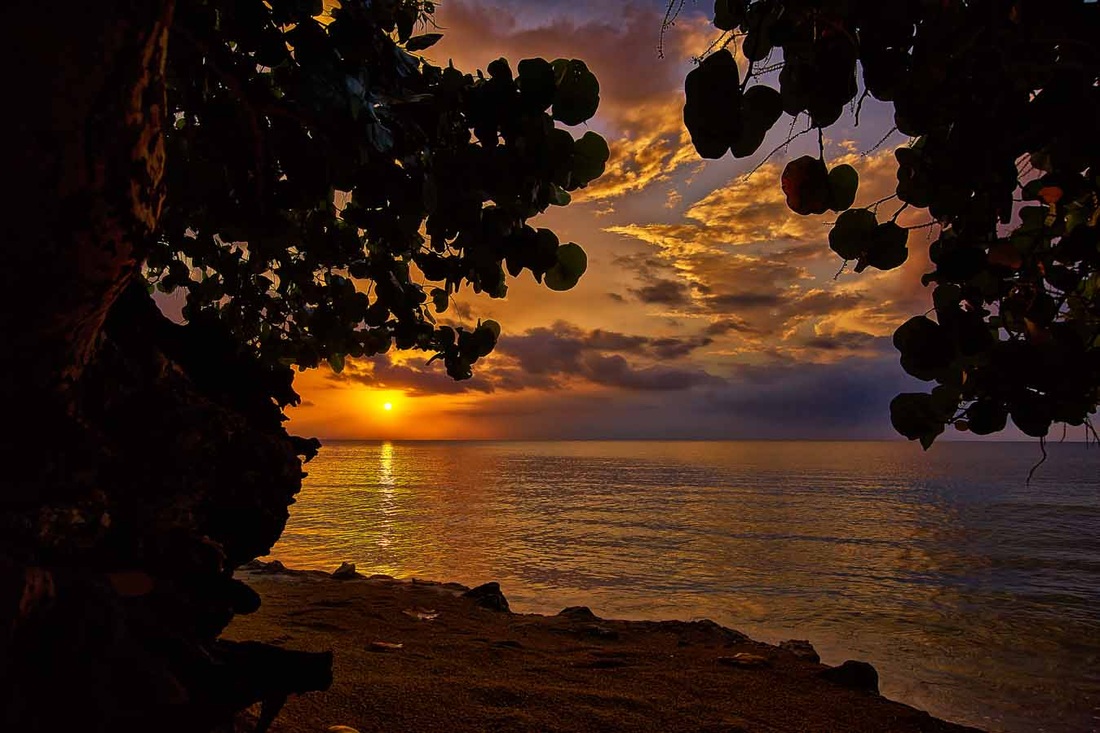
This is me in the park the other night, after a rain shower.
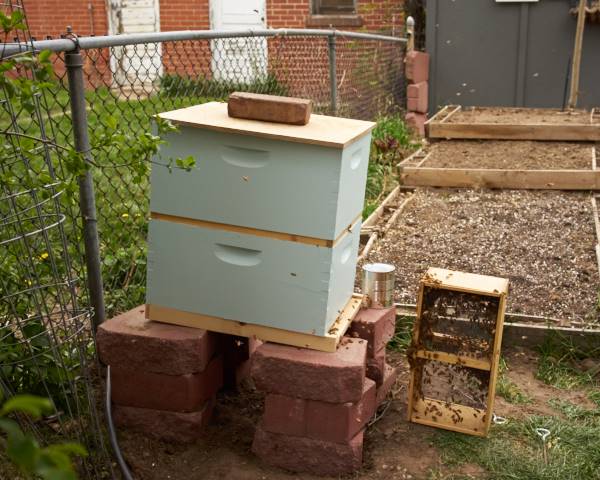
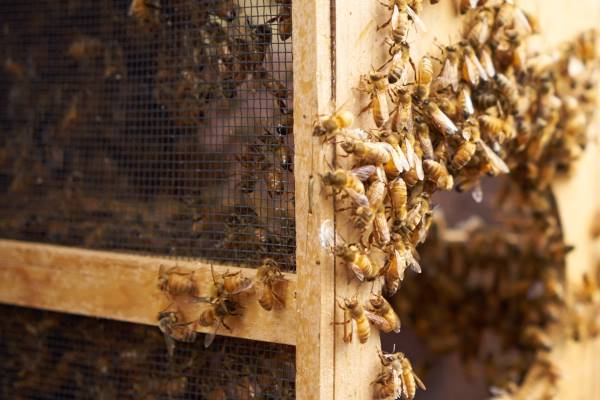
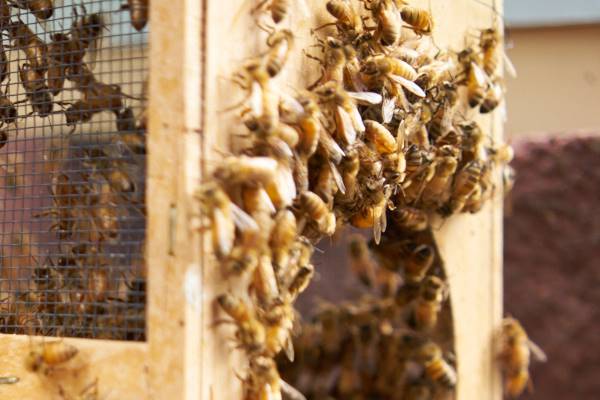
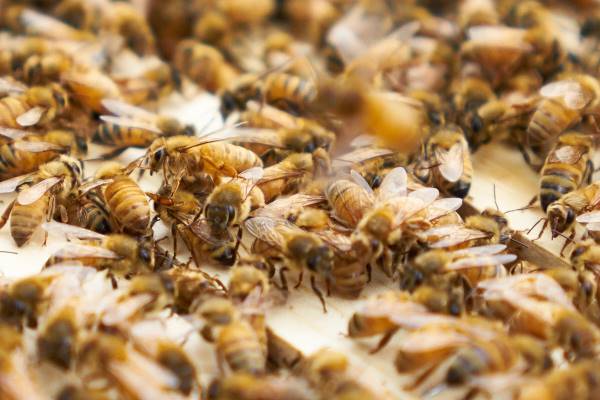
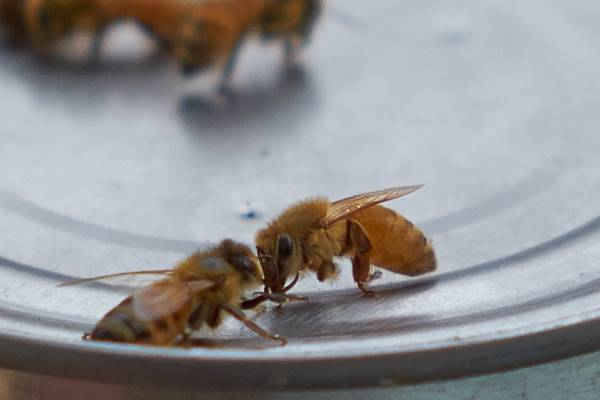
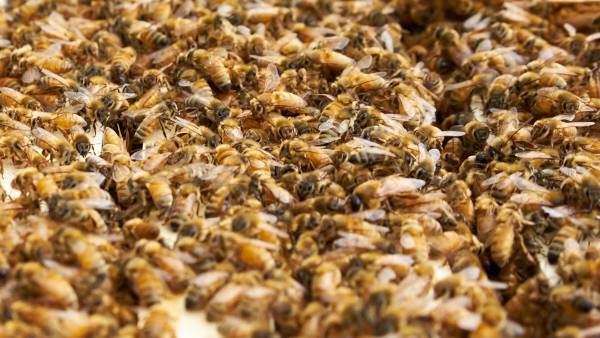
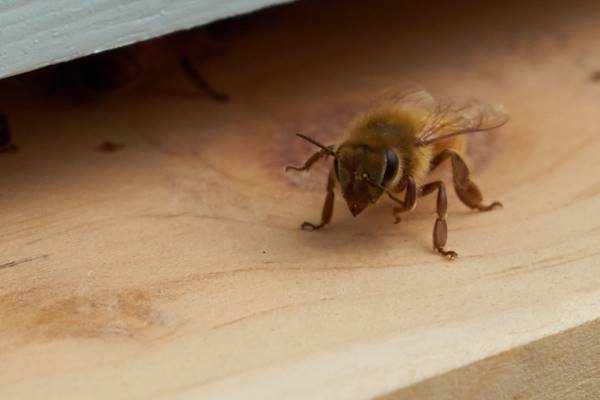
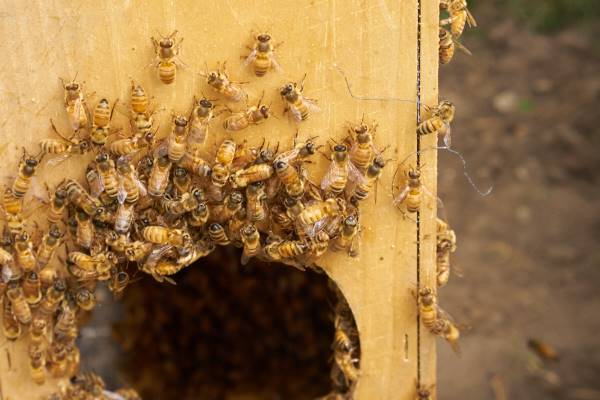
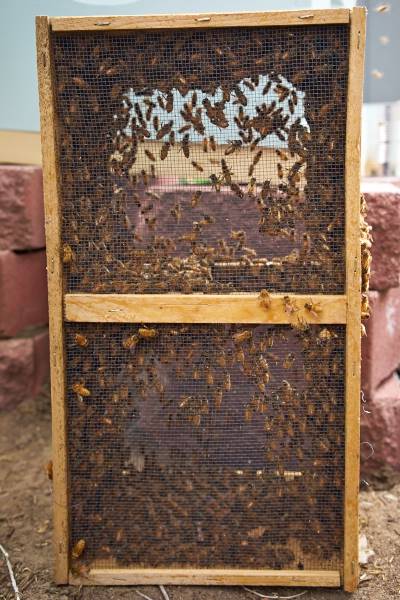
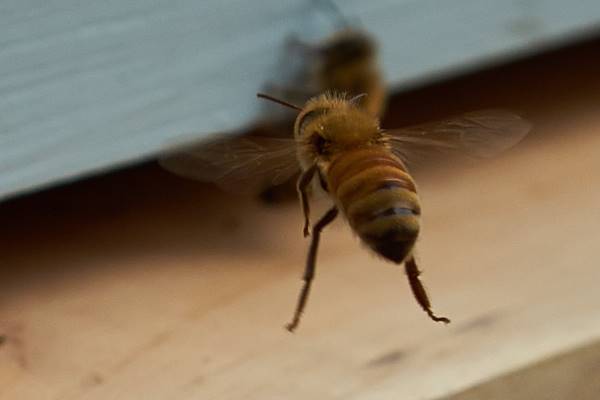
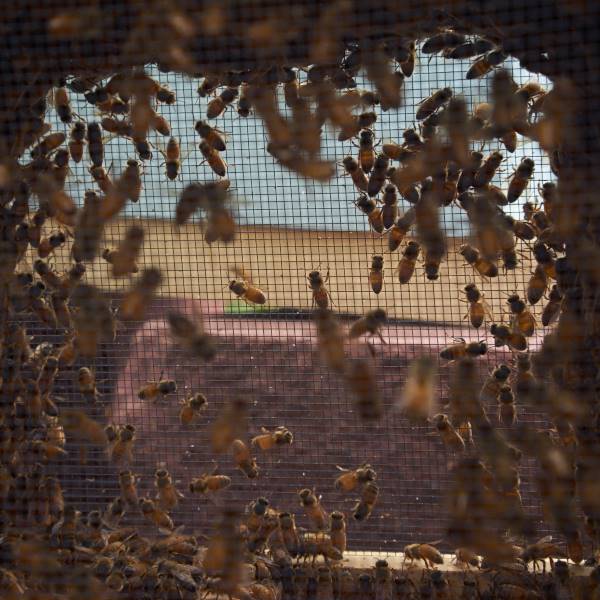
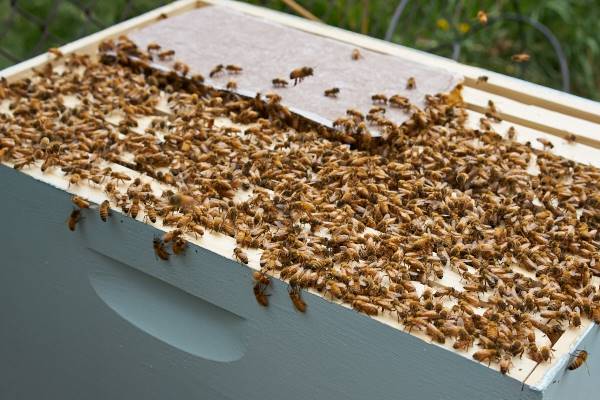
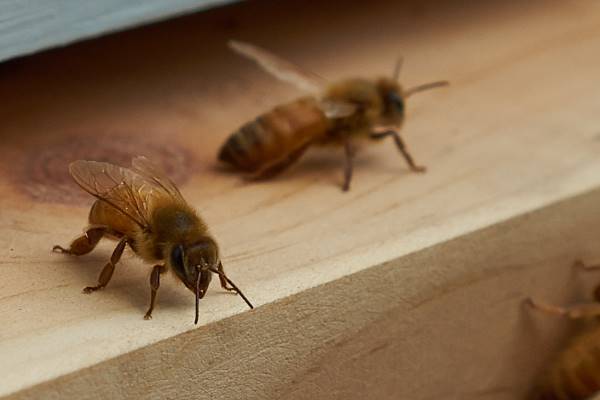
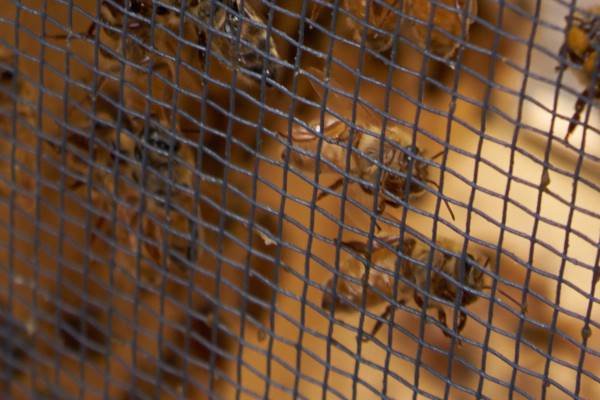
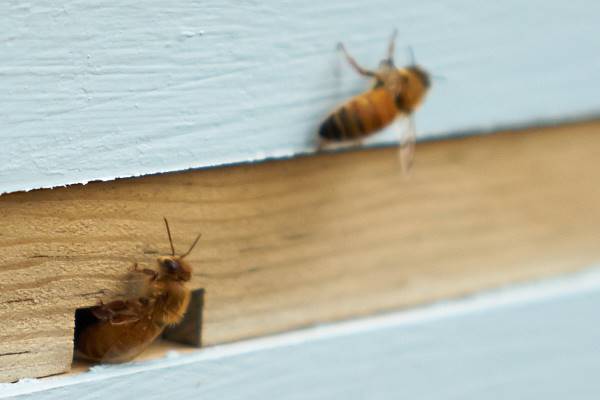
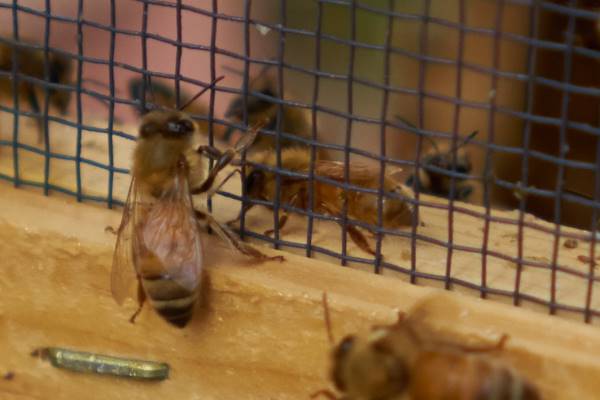
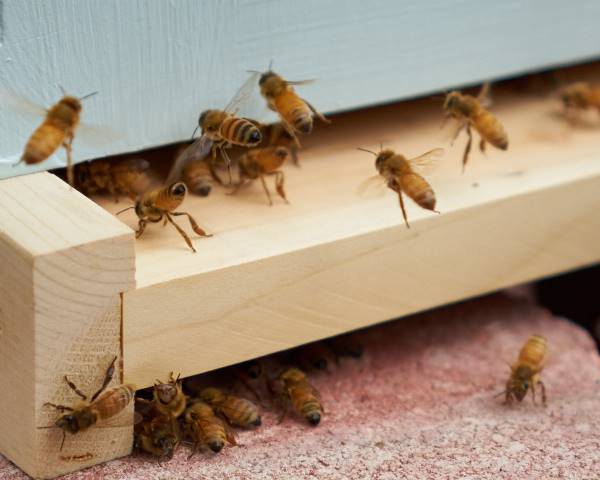
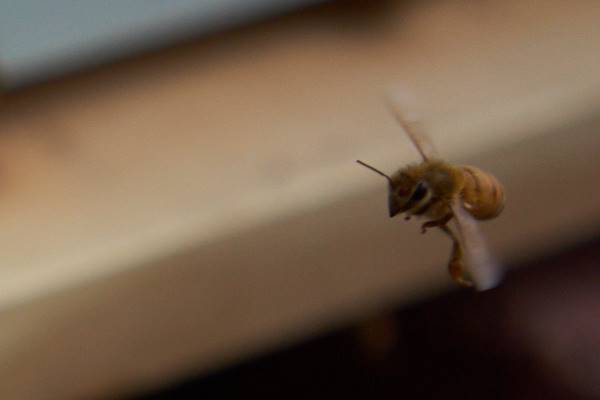
Yesterday was delivery day for bees at "To Bee or not to Bee" in Denver. The beehive pictured here was bought the day prior, and hopefully next year another hive will be added from the Open Source Beehives (OSBH) plans cut from a plywood sheet with a CNC router. I was kind of busy putting the bees into the hive, but here are a few photos I got along the way. There will be a short video piece in a few weeks showing the bee pickup, the queen in her smaller cage and shaking the bees into the hive. |